Appearance
activemq.md
activemq socketexception connection reset
Good day. I have several types of clients that connect to a topic using stomp. Sometimes after some use ( just some 7/8 messages) the users get disconnected and this error appears in the activemq log file after i try to send a message from the producer to the clients.. its quite strange because the clients do not detect the connection failure...
2012-12-18 11:27:21,401 | DEBUG | Transport Connection to: tcp://127.0.0.1:1031 failed: java.net.SocketException: Connection reset | org.apache.activemq.broker.TransportConnection.Transport | ActiveMQ Transport: tcp:///127.0.0.1:1031@61613
java.net.SocketException: Connection reset
        at java.net.SocketInputStream.read(SocketInputStream.java:189)
        at java.net.SocketInputStream.read(SocketInputStream.java:121)
        at org.apache.activemq.transport.tcp.TcpBufferedInputStream.fill(TcpBufferedInputStream.java:50)
        at org.apache.activemq.transport.tcp.TcpTransport$2.fill(TcpTransport.java:612)
        at org.apache.activemq.transport.tcp.TcpBufferedInputStream.read(TcpBufferedInputStream.java:58)
        at org.apache.activemq.transport.tcp.TcpTransport$2.read(TcpTransport.java:597)
        at java.io.DataInputStream.readByte(DataInputStream.java:265)
        at org.apache.activemq.transport.stomp.StompWireFormat.readHeaderLine(StompWireFormat.java:155)
        at org.apache.activemq.transport.stomp.StompWireFormat.readLine(StompWireFormat.java:148)
        at org.apache.activemq.transport.stomp.StompWireFormat.parseAction(StompWireFormat.java:170)
        at org.apache.activemq.transport.stomp.StompWireFormat.unmarshal(StompWireFormat.java:98)
        at org.apache.activemq.transport.tcp.TcpTransport.readCommand(TcpTransport.java:229)
        at org.apache.activemq.transport.tcp.TcpTransport.doRun(TcpTransport.java:221)
        at org.apache.activemq.transport.tcp.TcpTransport.run(TcpTransport.java:204)
        at java.lang.Thread.run(Thread.java:722)
2012-12-18 11:27:21,405 | DEBUG | Unregistering MBean org.apache.activemq:BrokerName=localhost,Type=Connection,ConnectorName=stomp,Connection=ID_demoserver-50466-1355829271859-2_1 | org.apache.activemq.broker.jmx.ManagementContext | ActiveMQ Transport: tcp:///127.0.0.1:1031@61613
Reference
appium.md
Setup
- JDK(Java Development Kit)
- Android SDK
- Node.js
- Appium
- Appium-Client
Init
bash
npm install -g appium
npm install appium-doctor -g

appium --version
appium driver install uiautomator2
appium driver list --installed


# appium --version 에서 2.0.0 이상이 아닌경우
npm install -g appium@2.0.0
Appium 설치
bash
npm ls -g
npm list -global --depth=0
Appium Desktop
Appium
bash
adb list
adb tcpip 5555
adb connect 192.168.0.1:5555

# adb devices
# adb tcpip 5555
# adb connect 192.168.92.132:5555


@echo off
title adb connect without usb
set port=5555
echo.
echo   adb connect without usb by Mir(whdghks913)
echo.
echo   Connect your Android device and adb host computer to a common Wi-Fi network accessible to both.
echo   Waiting for device, Connect the device to the host computer with a usb
echo.
adb kill-server
adb wait-for-device
adb tcpip %port%
echo.
echo   Disconnect the USB cable from the target device.
echo   Find the IP address of the Android device, and Enter the IP address
echo.
set /P ip=  Your IP :
adb connect %ip%:%port%
timeout /t 1
echo.
adb devices
pause
Android SDK Tools
bash
appium-doctor --android
cd C:\Users\osryu\AppData\Local\Android\Sdk\tools\bin
sdkmanager --list
cd C:\Users\osryu\AppData\Local\Android\Sdk\emulator
emulator -avd Pixel_6_API_30 -netdelay none -netspeed full

cd C:\Users\osryu\.android\avd
appium server cli
bash
appium -p 4723
appium -p 4723 --allow-insecure chromedriver_autodownload

self.appium_service = AppiumService()
self.appium_service.start(args=['--address', '0.0.0.0', '-p', '4724', '--base-path', '/wd/hub'])
References
appsheet.md
설정
- Google Sheet Menu > File > New > SpreadSheet
- change sheet name
- input data into a sheet (column :
#type) - Menu > Extensions > AppSheet > Create an app
- Connect Google services
AppSheet Display
Data : 구글 Sheet에서 정보를 불러옴, Sheet 선택후 Regenerate schema를 사용해서 업데이트주의
- Google Sheet에서 sheet을 변경할 경우 Data, Views를 업데이트 해줘야 함
GCP
- Add Project
- APIs & Services > Enable APIs and services > Google Sheets API
- Google Sheets API Enable
- Create credentials
   Credential Type: User data
   App name: blog-deploy
   User support emai: ~~
   Developer contact informaiton: ~~
   Scopes: Google Sheets API

   OAuth Client ID
   Application type: Web application
Name: blog-auth-client- Create > Download > Done
chocolatey.md
Setup
bash
# cmd
@powershell -NoProfile -ExecutionPolicy Bypass -Command "iex ((new-object net.webclient).DownloadString('https://chocolatey.org/install.ps1'))" && SET PATH=%PATH%;%ALLUSERSPROFILE%\chocolatey\bin

# powershell
Set-ExecutionPolicy Bypass -Scope Process -Force; iex ((New-Object System.Net.WebClient).DownloadString('https://chocolatey.org/install.ps1'))
choco
bash
choco search googlechrome -ev
choco search googlechrome -e

choco install -yf bandizip
choco install bandizip --version=6.24

choco uninstall bandizip
choco uninstall -yf bandizip
설치 예시
bash
choco install vscodium
choco install bandizip --version=6.24
References
claude.md
claude memory vs resume
  /memory (메모리 시스템)
  - 내가 의도적으로 저장하는 요약 노트
  - 위치: ~/.claude/projects/<현재프로젝트>/memory/*.md
  - 내용: 사용자 선호, 프로젝트 컨텍스트, 피드백 등 핵심 정보만
  - 용도: 새 대화를 시작해도 이전 맥락을 기억하게 하는 것
  - 크기: 작고 구조화됨

  JSONL 히스토리 (스크립트가 관리하는 것)
  - 대화의 원본 로그 전체
  - 위치: ~/.claude/projects/<프로젝트>/xxxx.jsonl
  - 내용: 모든 메시지, 툴 호출, 결과 — 날것 그대로
  - 용도: /resume으로 이전 대화를 그대로 이어가는 것
  - 크기: 대화할수록 수천 줄

  ~/.claude/projects/-Users-oseongryu-git-git-worktree-web/
  ├── *.jsonl← /resume 히스토리 (대화 원본)
  ├── <uuid>/← subagents, tool-results
  │   ├── subagents/
  │   └── tool-results/
  └── memory/← /memory 메모 (아직 없음)
      ├── MEMORY.md
      └── *.md
dbeaver.md
Table alias 자동완성 해제
- Window > Preferences > Editors > SQL Editor > Code Completion
Insert table aliases (N/A)
Code 자동완성 해제
- Window > Preferences > Editors > SQL Editor > Code Editor Auto close Brackets (unchecked)
행번호
- Window > Preferences > Editors > Text Editors
Show line numbers (checked)
Auto Commit 해제
- Window > Preferences > Database > connection Types
Auto-commit by default (체크해제)
Schemas filter
- Schemas 우클릭 > Filter > Configure "Schemas" filterEncoding
Window > Preferences > General > Workspace
Text file encoding > UTF-8
ORA-01861: literal does not match format string
sql
-- sqldeveloper와 달리 Dbeaver
SELECT * FROM NLS_SESSION_PARAMETERS WHERE PARAMETER = 'NLS_DATE_FORMAT';
SELECT * FROM NLS_INSTANCE_PARAMETERS WHERE PARAMETER = 'NLS_DATE_FORMAT';
SELECT * FROM NLS_DATABASE_PARAMETERS WHERE PARAMETER = 'NLS_DATE_FORMAT';

ALTER SESSION SET NLS_DATE_FORMAT = 'YYYY-MM-DD';
ALTER SESSION SET NLS_DATE_FORMAT = 'YYYY-MM-DD HH24:MI:SS';
dbeaver 6.3.5
bash
# 6.3.5 버전 이후 alter session
https://github.com/dbeaver/dbeaver/releases/tag/6.3.5
edge.md
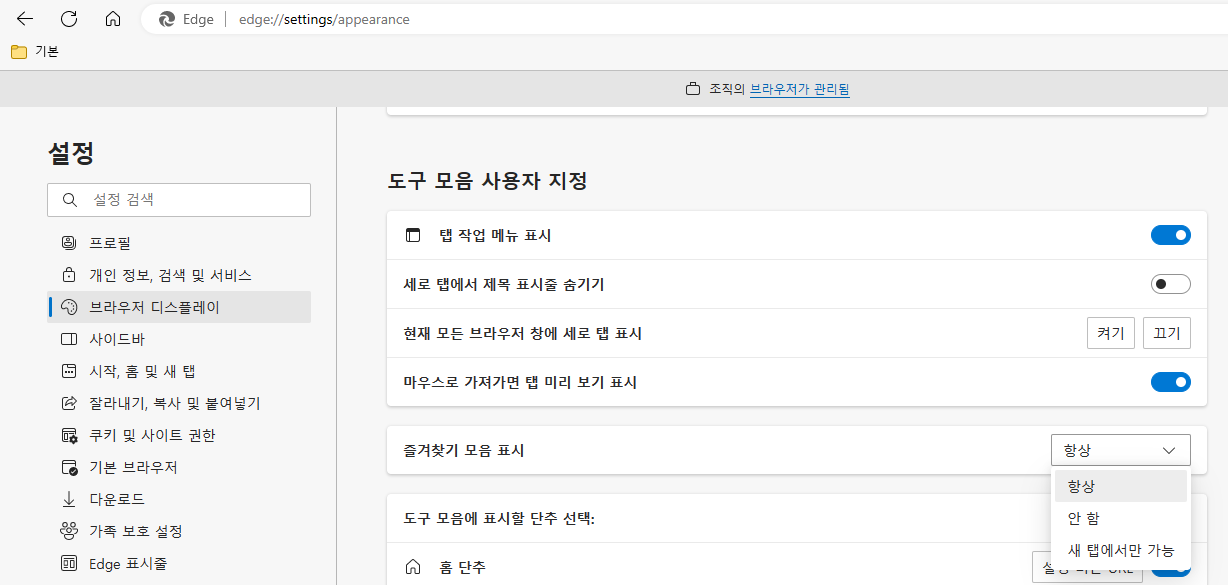
즐겨찾기 모음 표시
설정 > 브라우저 디스플레이 > 즐겨찾기 모음 표시 > 항상으로 변경
fiddler.md
Fiddler
The community-trusted free Windows-only tool that logs HTTP(s) network traffic.Setup
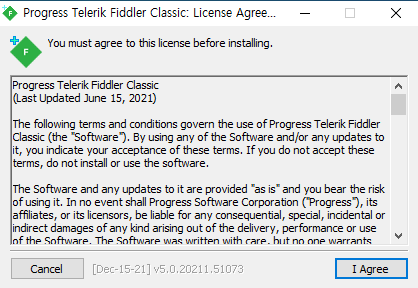
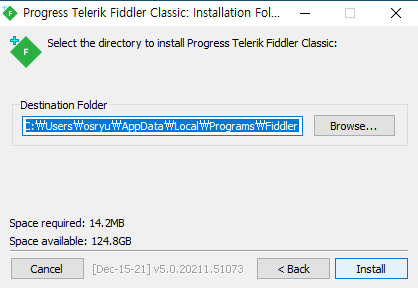
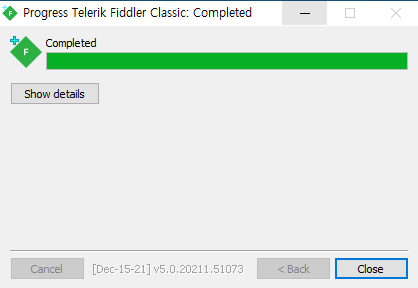
Using
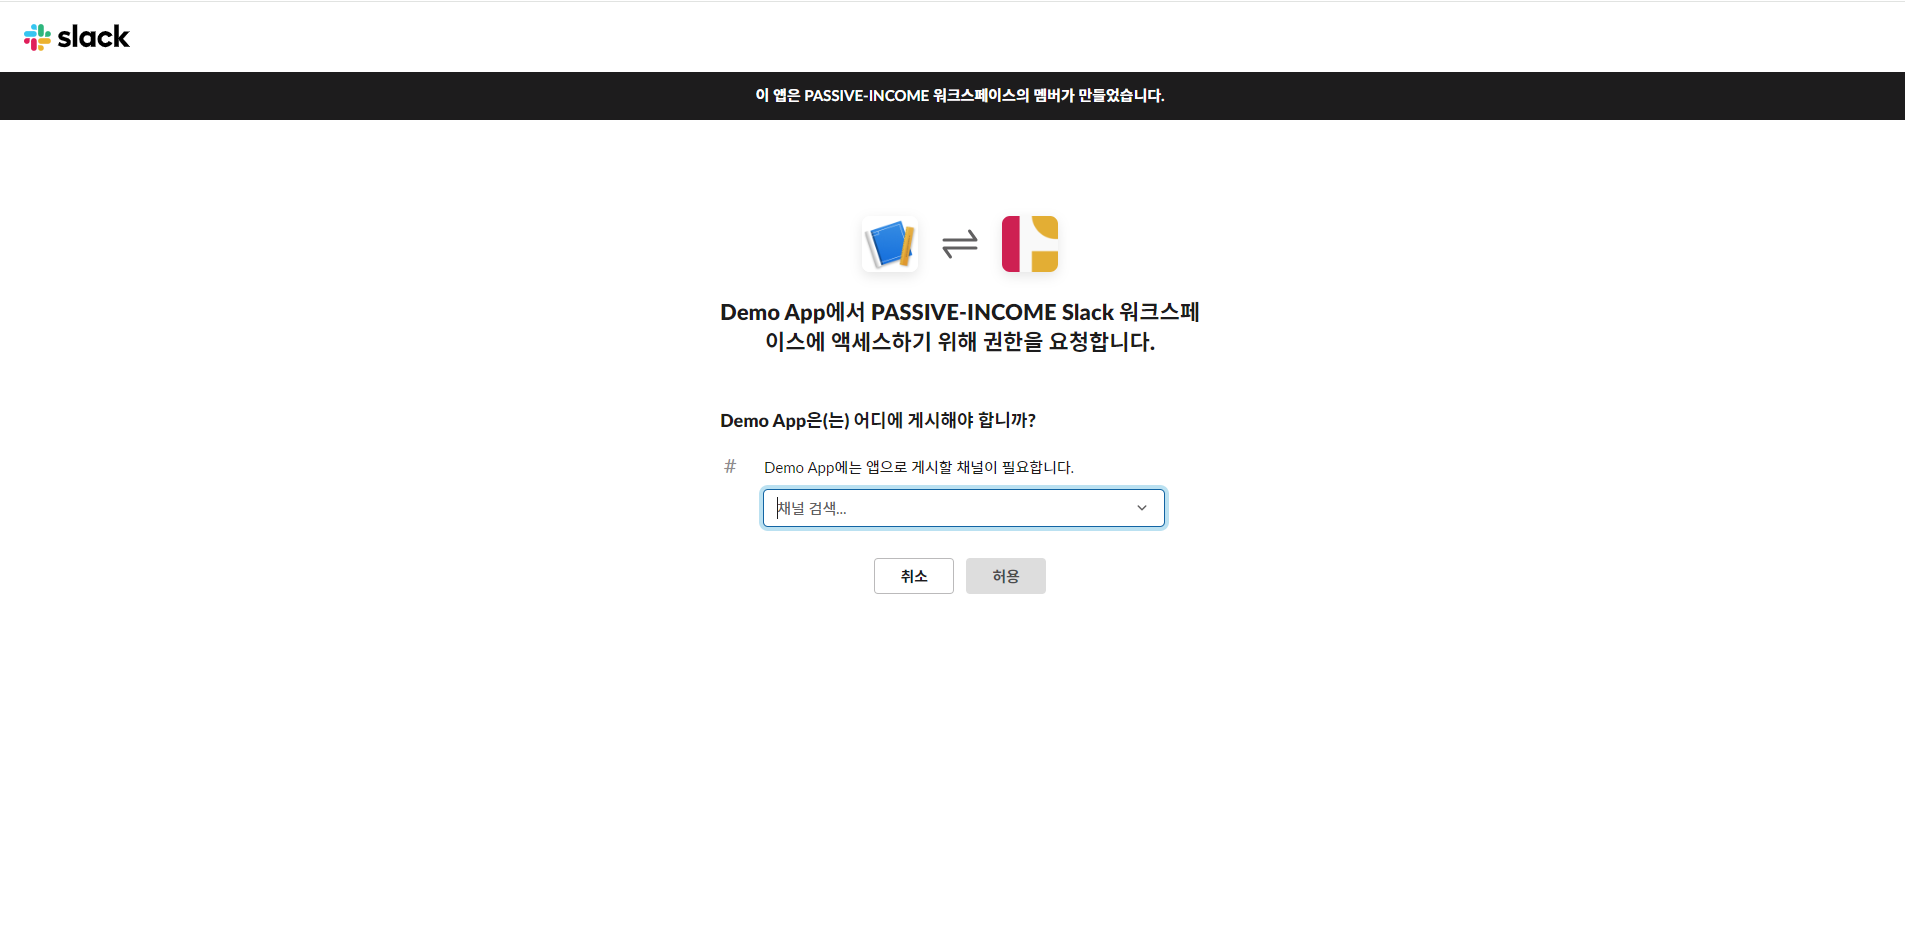
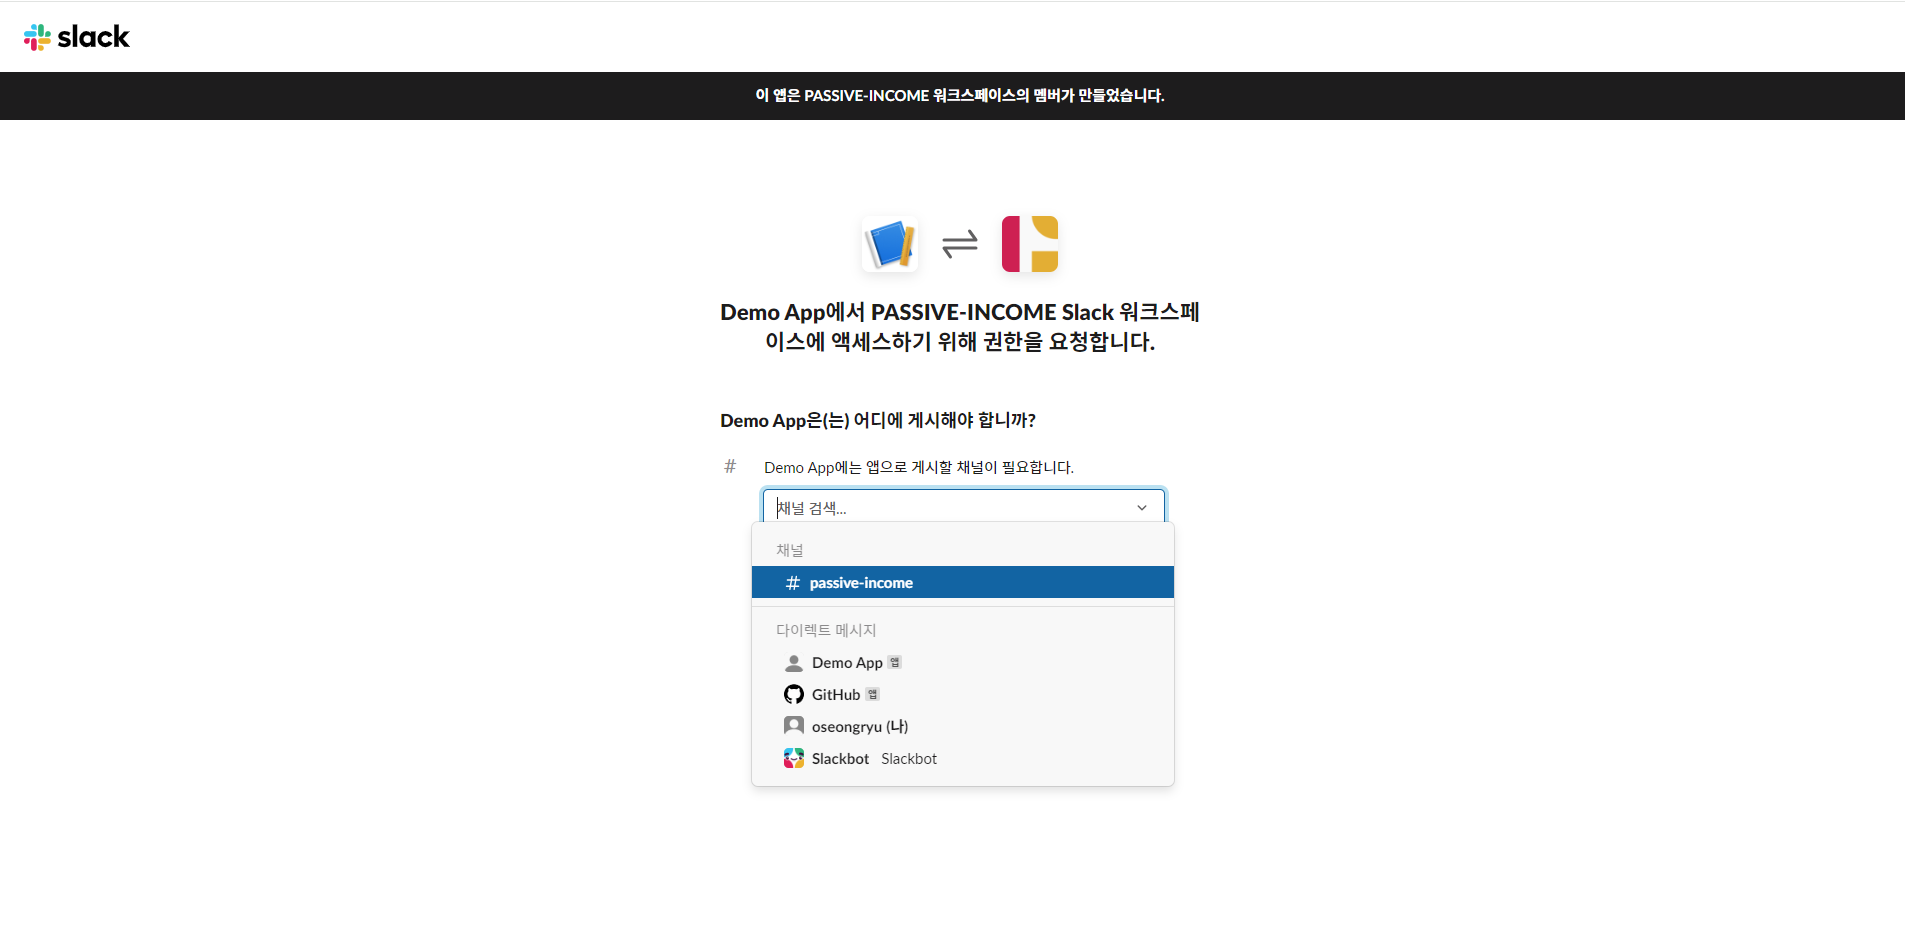
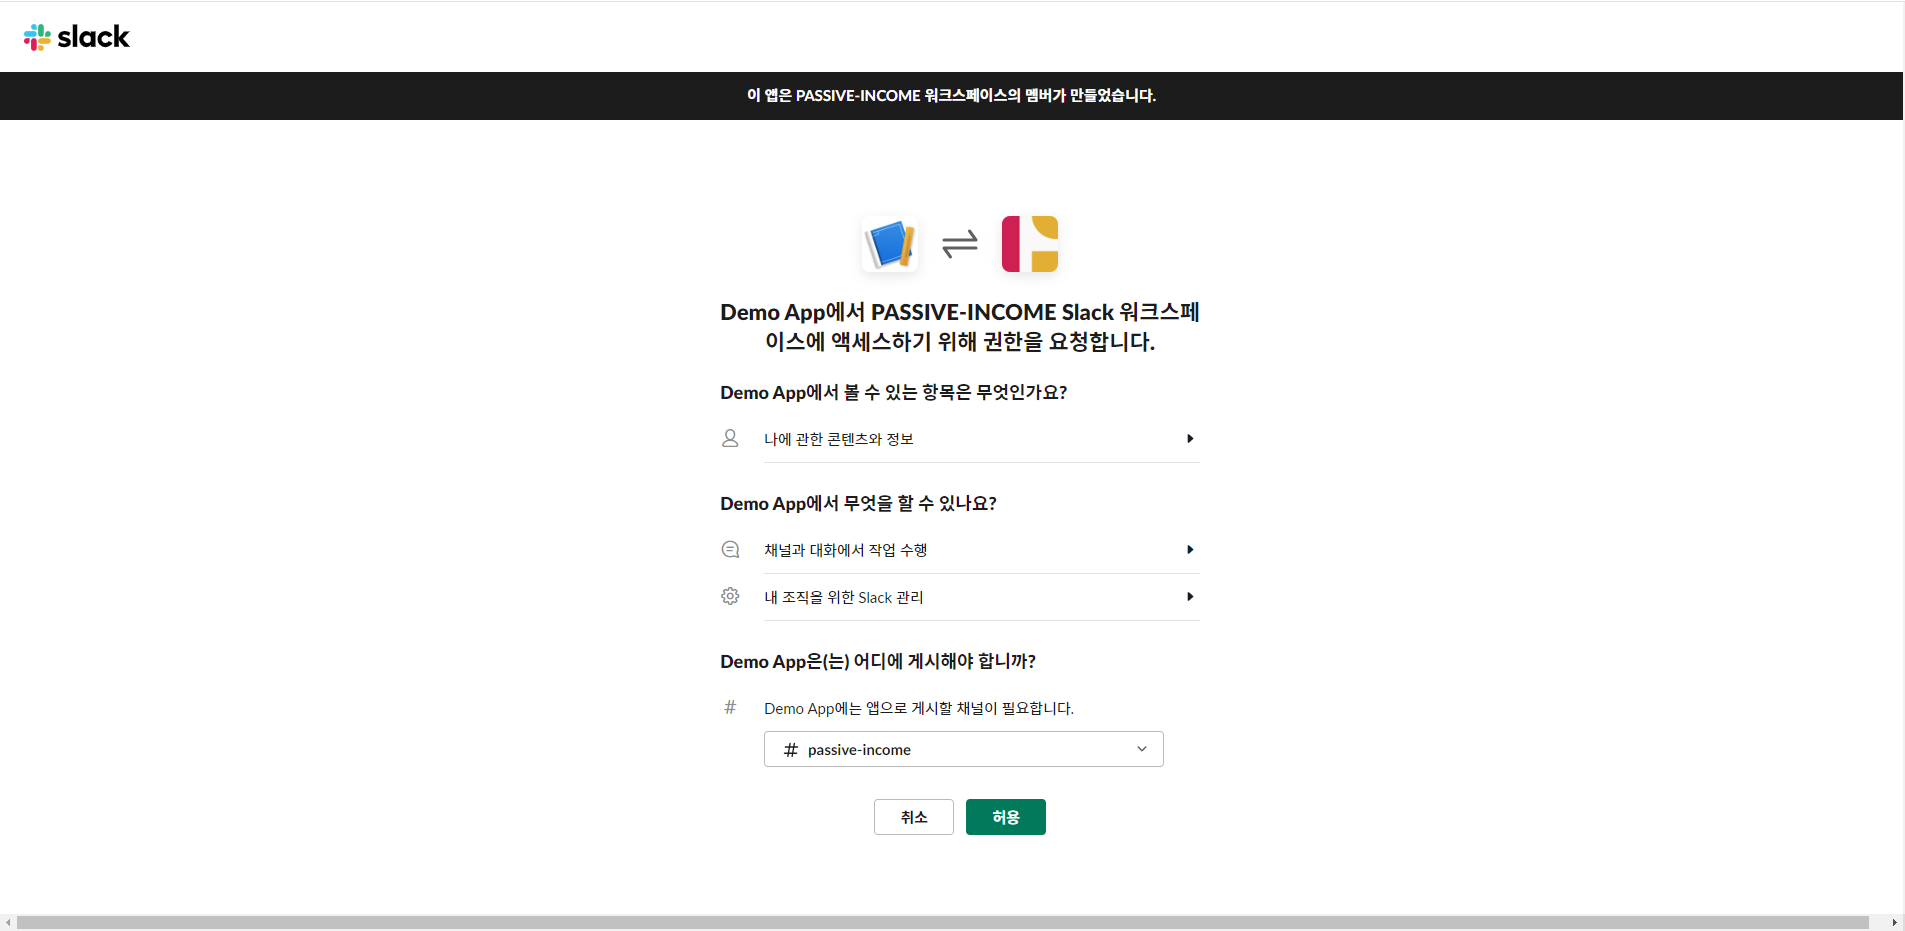
github-slack.md
Github subscribe
/github subscribe oseongryu/tilGithub unsubscribe
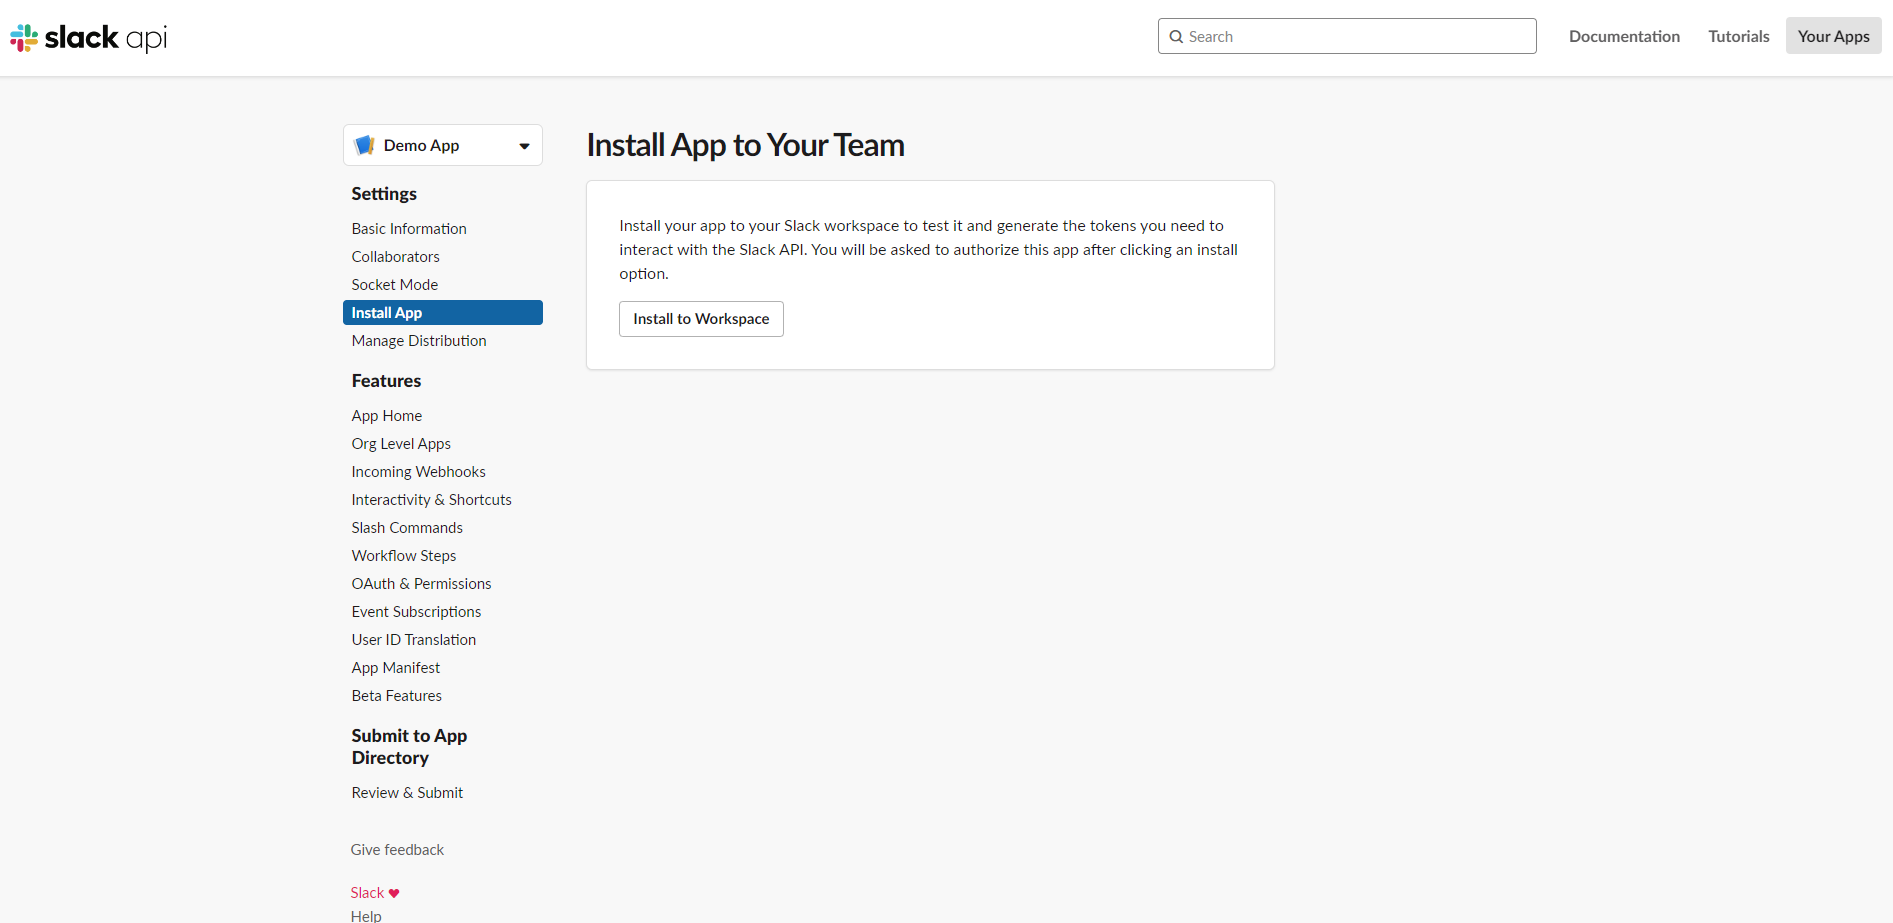
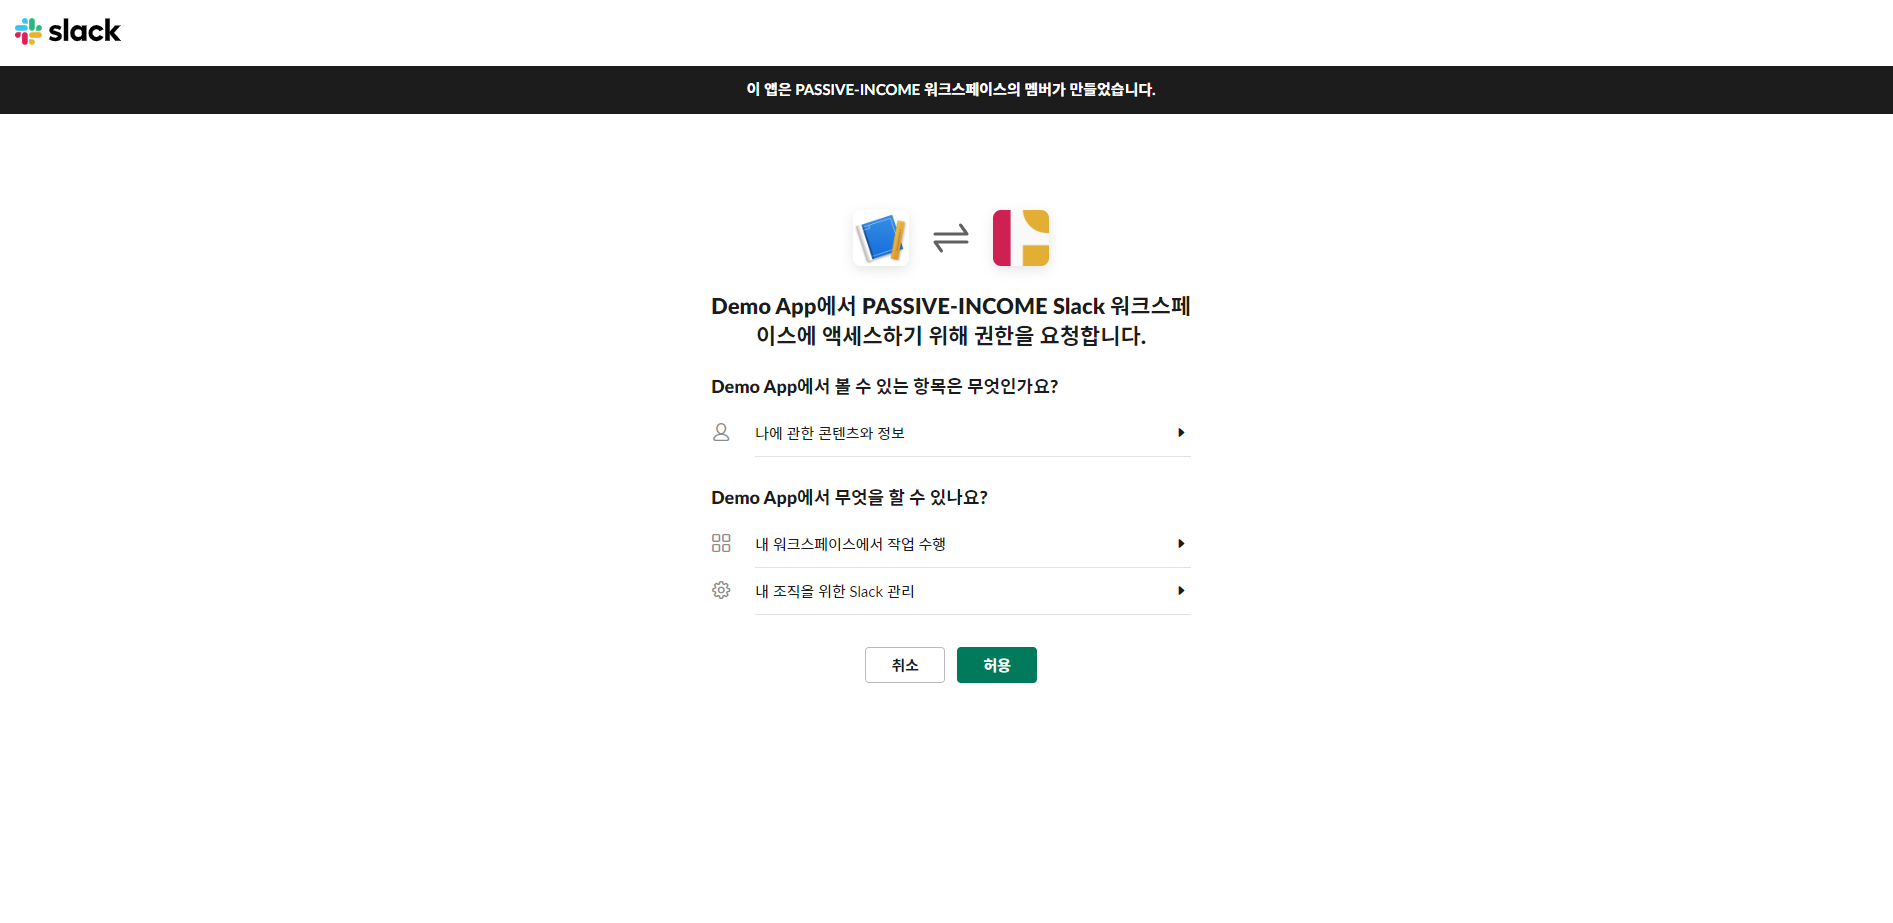
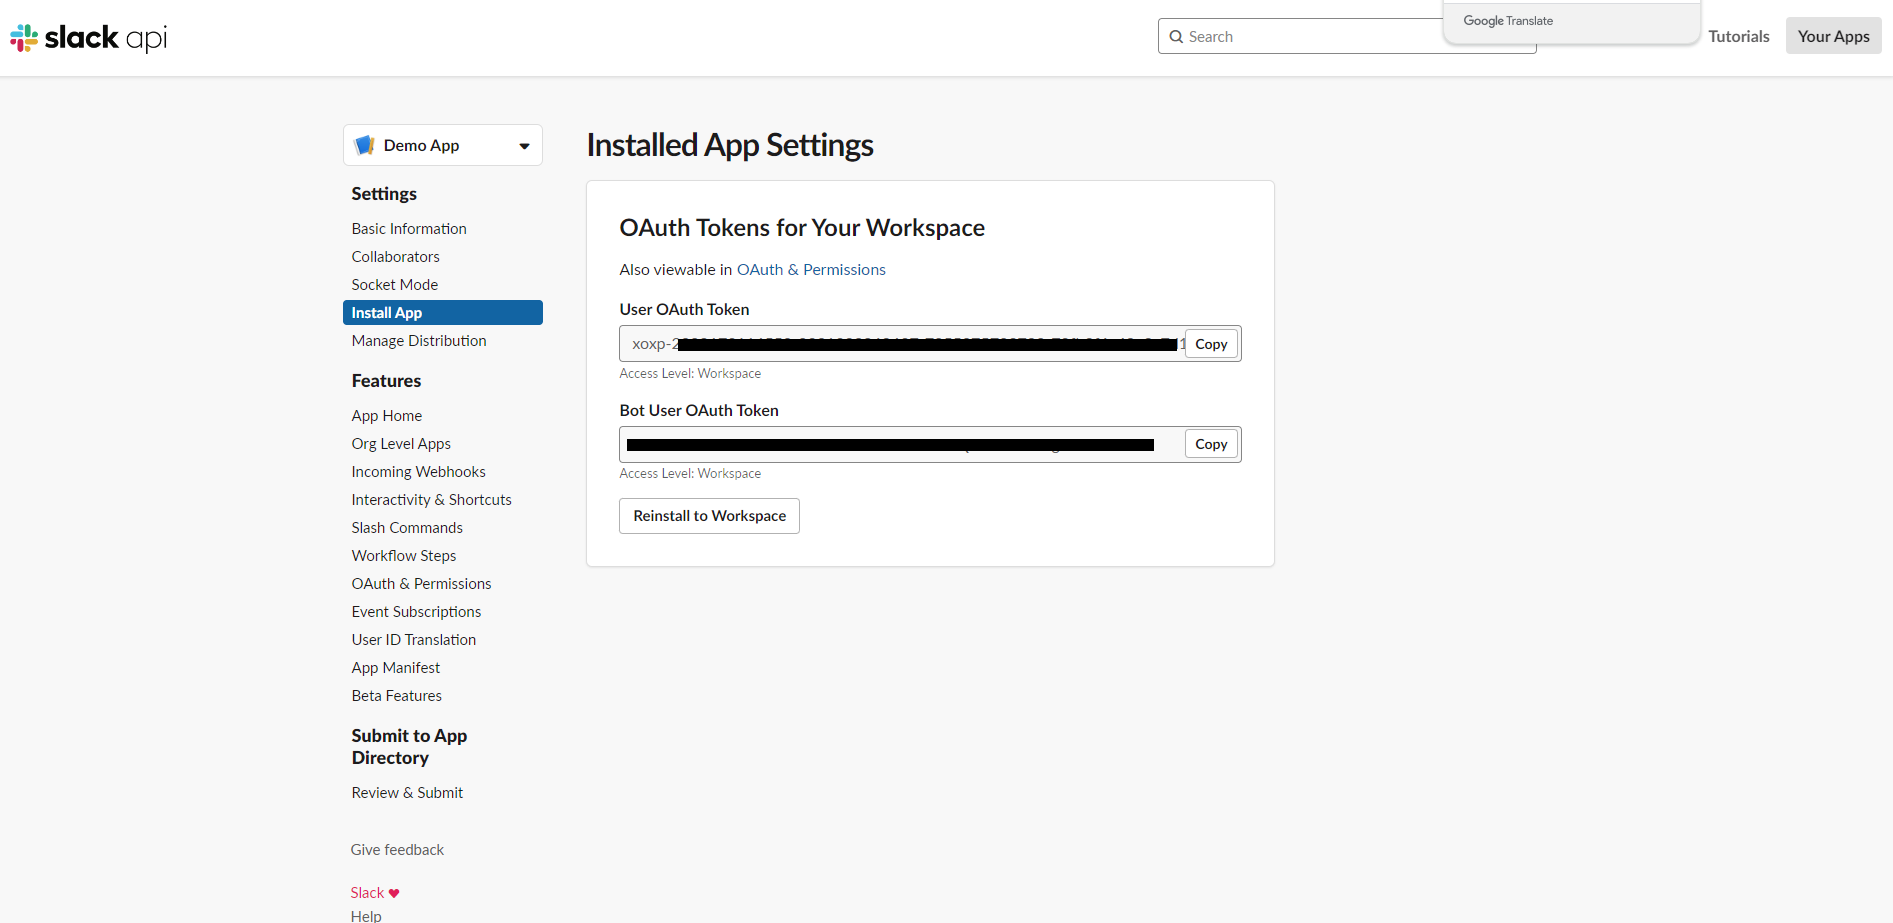
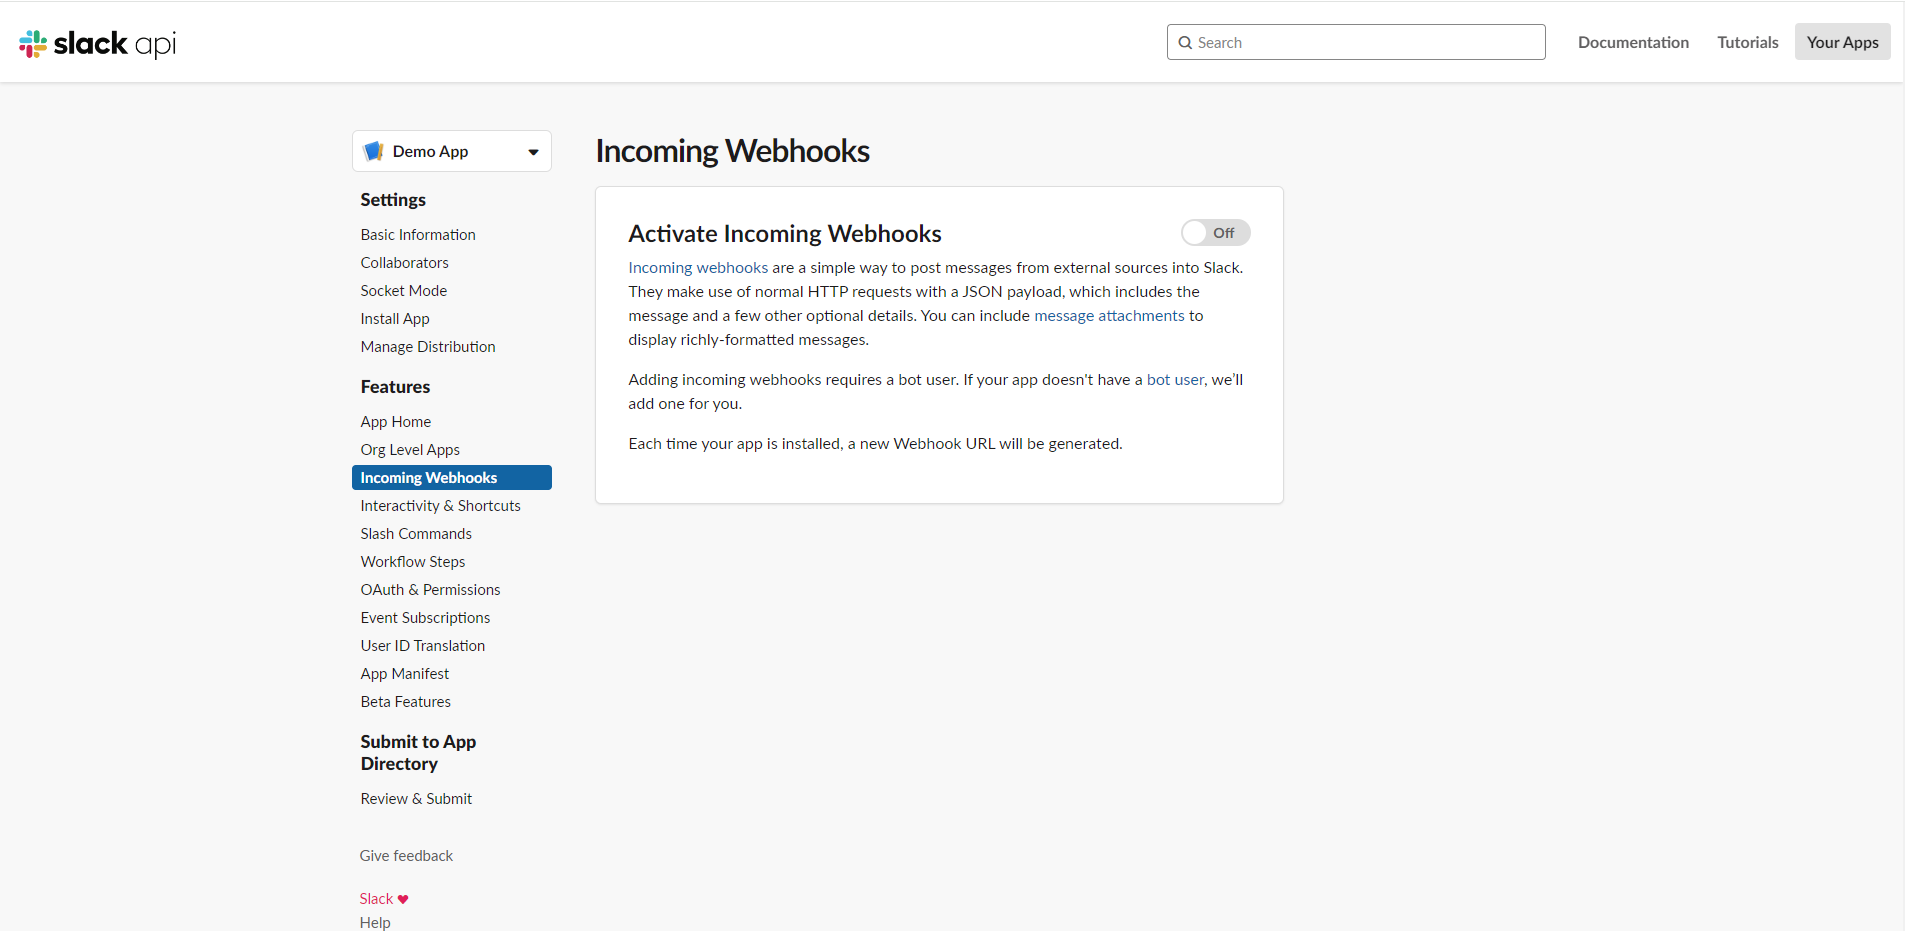
/github unsubscribe oseongryu/tilslack api

httpie.md
httpie in Windows
파이썬 설치
시스템 환경변수 등록
C:\Python\Python38\Scriptspip install
bash
pip install -U httpie- 테스트
bash
http GET naver.com
http GET localhost:8080
http POST localhost:8080/restaurants name=BeRyong address=Busan
http GET localhost:8080/restaurants
mobaxterm.md
MobaXterm
Tunneling
SSH 서버를 통해서 접근을 설정하고 싶은 경우 Tunneling 설정
- 시작 > Tunneling 클릭
- New SSH tunnel 클릭
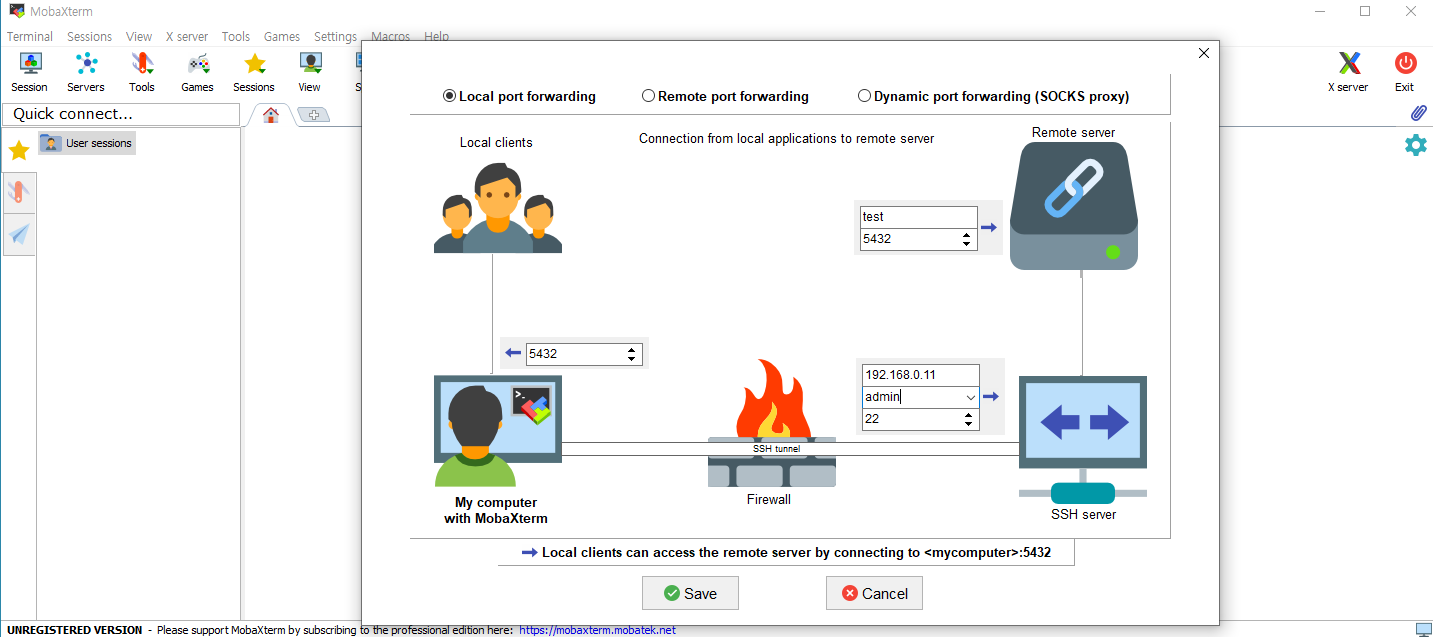
- 설정완료후 Start를 눌러서 시작
mysqlworkbench.md
MySQL Workbench
Forward Engineering
edit > preferences > SQL Editor > Safe Updates 체크 해제
새롭게 변경하고 포워드 엔지니어링 만들 때는 새롭게 수강2로 만듬 Database > Synchronize Model
- mysql 테이블 속성 변경 http://kwon37xi.egloos.com/1635464
- 1: 다인지 등등은 그림에 표시를 해서
- 테이블 명세서
타임존 에러
식별관계 비식별관계
엑셀로 인서트문 빠르게 만들기
=A2&"'___'"&B2&"____"&C2n8n.md
n8n
setting
bash
# https://github.com/n8n-io/self-hosted-ai-starter-kit

git clone https://github.com/n8n-io/self-hosted-ai-starter-kit.git
cd self-hosted-ai-starter-kit
docker compose up
mac localhost:11434 && ip:11434 동작
bash
# https://github.com/ollama/ollama/blob/main/docs/faq.md
launchctl setenv OLLAMA_HOST "0.0.0.0"
notepad++.md
Notepad++
Ctrl + F 후 Find All in All Opened Documents
- 열어놓은 파일 전체에서 찾고자하는 검색어를 찾음
Ctrl + F 후 Find All in Current Document
- 현재 파일 전체에서 찾고자하는 검색어를 찾음
notion.md
Notion 사용
1. 회원가입
노션홈페이지 > 회원가입
pi.md
Raspberry Pi
init setting
bash
sudo systemctl start vncserver-x11-serviced.service
sudo systemctl enable vncserver-x11-serviced.service
java -version
sudo nano /boot/config.txt
googleAssistant
bash
arecord -l
arecord-l
arecord -l
aplay -l
arecrod -D plughw:1,0 -d 10 test.wav
sudo arecord -D plughw:1,0 test.wav
sodo amixer cset numid=3 1
sudo aplay test.wav
pip install pyaudio
pip3 install pyaudio
sudo nano /usr/share/alsa/alsa.conf
alsamixer
arecord -l
arecord -D hw:1,0 -f S16_LE -r 44100 test.wav
sudo apt-get update && sudo apt-get upgrade
sudo apt-get install bluetooth bluez blueman python-gobject python-gobject-2
sudo apt-get install pulseaudio pulseaudio-module-bluetooth pavucontrol
sudo usermod -G bluetooth -a pi
sudo usermod –G lp -a pi
sudo reboot
arecord -l
aplay -l
arecord /home/pi/voice-record-file.wav -D sysdefault:CARD=
lsusb
sudo lsusb
arecoed -l
arecord -l
arecord -D plughw:1,1 test.wav
source env/bin/activate
cd googleAssistant
source env/bin/activate
google-oauthlib-tool --scope https://www.googleapis.com/auth/assistant-sdk-prototype --save --headless --client-secrets /home/pi/Downloads/yes.json
fig, scopes=scopes, **kwargs)
>
google-oauthlib-tool --scope https://www.googleapis.com/auth/assistant-sdk-prototype --save /home/pi/Downloads/yes.json
google-oauthlib-tool  --scope https://www.googleapis.com/auth/gcm --save --headless --client-secrets /home/pi/Downloads/yes.json
google-assistatnt-demo
google-assistatnt
googlesamples-assistant-pushtotalk
google-oauthlib-tool --client-secrets /home/pi/Downloads/yes.json --scope https://www.googleapis.com/auth/assistant-sdk-prototype --save
cd googleAssistant
cd bin/activate
cd bin
cd activatge
cd activate
activate
env/activate
env/bin/activate
sudo env/bin/activate
cd env
pip install google-assistant-library
google-assistant-demo --device_model_id No1
arecord /l
arecord -D plughw:1,0 -d 10 micTest.wav
cd googleAssistant
source env/bin/activate
google-assistant-demo --device_model_id No1
googlesamples-assistant-pushtotalk
cd google*
source env/bin/activate
google-assistant-demo
google-assistant-demo --device_model_id No1
googlesamples-assistant-devicetool register-model --manufacturer "DIY co." --product-name "GAonPI" --description "my own google assistant" --type LIGHT --model "No1"
google-assistant-demo --device_model_id No1
alsamixer
nano~/.asoundrc
cd ..
nano~/.asoundrc
nano ~/.asoundrc
googlesamples-assistant-pushtotalk --lang ko-KR
ls -al
netstat -tnlp
java -version
proxy.md
Proxy
bash setting
bash
export http_proxy='http://192.0.0.4:8000'
export https_proxy='http://192.0.0.4:8000'

unset http_proxy
unset https_proxy
.npmrc
bash
proxy=http://192.0.0.4:8000
https-proxy=http://192.0.0.4:8000
.yarnrc
bash
https-proxy "http://192.0.0.4:8000"
proxy "http://192.0.0.4:8000"
proxy setting
bash
npm config set proxy http://192.0.0.4:8000
npm config set https-proxy http://192.0.0.4:8000
npm config set strict-ssl false
npm config set registry http://registry.npmjs.org/

# confirm: ~/.npmrc
npm config list
git setting
bash
# https://stackoverflow.com/questions/783811/getting-git-to-work-with-a-proxy-server-fails-with-request-timed-out
# https://gist.github.com/ozbillwang/005bd1dfc597a2f3a00148834ad3e551
# https://publivate.tistory.com/281
# https://lunatine.net/2015/08/12/tip-ssh-github-url-with-http-proxy/
# https://stackoverflow.com/questions/70603564/windows-ssh-proxycommand-usr-bin-bash-line-0-exec-nc-not-found-on-git-bash


git -c "http.proxy=192.0.0.4:8000" clone https://github.com/oseongryu/docker-composes.git
git -c "http.proxy=192.0.0.4:8000" clone git@github.com:oseongryu/docker-composes.git

git config --global http.proxy http://192.0.0.4:8000
git config --global http.sslVerify false


# https://copyprogramming.com/howto/how-can-i-change-the-system-proxy-from-the-command-line
netsh winhttp set proxy SERVER:PORT
netsh winhttp set proxy 192.0.0.4:8000
set HTTP_PROXY=http://proxy_userid:proxy_password@proxy_ip:proxy_port
set FTP_PROXY=%HTTP_PROXY%
set HTTPS_PROXY=%HTTP_PROXY%
set HTTP_PROXY=http://192.0.0.4:8000
set FTP_PROXY=%HTTP_PROXY%
set HTTPS_PROXY=%HTTP_PROXY%

netsh winhttp set proxy proxy-server="socks=localhost:9090" bypass-list="localhost"
netsh winhttp show proxy
netsh winhttp reset proxy

netsh winhttp set proxy 192.0.0.4:8000
netsh winhttp set proxy 192.0.0.4:8000";
netsh winhttp set proxy proxy-server="http=myproxy;https=sproxy:88" bypass-list="*.foo.com"
gradle.properties (~/.gradle/gradle.properties)
properties
systemProp.http.proxyHost=192.0.0.4
systemProp.http.proxyPort=8000
systemProp.https.proxyHost=192.0.0.4
systemProp.https.proxyPort=8000


# https://sharplee7.tistory.com/12
systemProp.http.proxyHost=192.0.0.4
systemProp.http.proxyPort=8000

# systemProp.http.proxyUser=[userid]
# systemProp.http.proxyPassword=[password]
# systemProp.http.nonProxyHosts=[*.exclusiveurl.com|localhost]

systemProp.https.proxyHost=192.0.0.4
systemProp.https.proxyPort=8000
# systemProp.https.proxyUser=[userid]
# systemProp.https.proxyPassword=[password]
# systemProp.https.nonProxyHosts=[*.exclusiveurl.com|localhost]
quartz.md
Quartz
1. 스케쥴 등록 시간 관련
https://www.freeformatter.com/cron-expression-generator-quartz.html
매일 2시 30분 실행
xml
<job group="TestBatchGroup" name="BatchTest" triggerName="BatchTest" cronExpression= "0 30 2 * * ?"
        targetClass="com.tistory.f5074.batch.BatchTest">
</job>
software.md
Software
MobaXterm portable
edge 즐겨찾기 상단 표시
설정 > 브라우저 디스플레이 > 즐겨찾기 모음 표시 항상
sqlserver2017.md
SQL Server 2017
설정
sql
Select @@version

sp_configure

sp_configure 'external scripts enabled', 1

reconfigure
Python 외부 스크립트
sql
execute sp_execute_external_script
@language = N'Python',
@script = N'print("Welcome to Data on My View")'
Reference
- https://www.youtube.com/watch?v=P6yIqvp7eiA
- https://dba.stackexchange.com/questions/188907/sql-server-2017-external-python-modules
userland.md
UserLAnd
ubuntu 선택후 설치
비밀번호는 App에서 확인default setting
bash
sudo apt upgrade
sudo apt update
sudo apt net-tools
ssh 설정
bash
sudo apt install openssh-server -y
sudo systemctl enable ssh

sudo apt install vim -y
sudo vi /etc/ssh/sshd_config

# 1. Port 주석해제 및 포트변경
# - '#Port 22' => 'Port 10022'
# - 시스템 포트 0 ~ 1023 번은 사용이 불가능
# 2. ListenAddress 값 주석 해제
# - '#ListenAddress 0.0.0.0' => 'ListenAddress 0.0.0.0'
# 3. PasswordAuthentication 값 주석 해제
# - '#PasswordAuthentication yes' => 'PasswordAuthentication yes'

sudo service ssh start

sudo ufw allow 10022/tcp
sftp 설정
bash
/usr/lib/openssh/sftp-server

sudo vi /etc/ssh/sshd_config


Match LocalPort 10022
      X11Forwarding no
      AllowTcpForwarding no
      PermitTTY no
      ForceCommand cvs server


      X11Forwarding no
      AllowTcpForwarding no
      PermitTTY no
      ForceCommand cvs server

Subsystem       sftp    /usr/lib/openssh/sftp-server
sftp 설정2
bash
sudo apt install openssh-sftp-server

ssh ubuntu-userland
ssh -p 10022 userland@192.168.0.1

sudo vi /etc/ssh/sshd_config
Subsystem sftp /usr/lib/openssh/sftp-server => Subsystem sftp internal-sftp

sudo service ssh start
sudo service ssh restart
sftp -oPort=10022 userland@192.168.0.1
scp -P 10022 userland@192.168.0.1:/home/userland/ ~/
scp -P 10022 ~/test.sql userland@192.168.0.1:/home/userland/
visualstudio.md
Visual Studio
윈폼 사용시 필터 type here to search properties 를 하면 속성을 필터링해서 찾아볼 수 있음
infomatica powetcenter 는 etl툴
winforms 화면상속
textbox line number
Visual Studio 2019 설정
CodeLens 변경
도구 > 옵션 > 텍스트편집기 > 모든 언어 > CodeLens > 사용하지 않는 항목 체크해제
Revert 2019 Syntax Highlighting Color to 2017 Colors
도구 > 옵션 > 텍스트편집기 > C# > 고급 > 편집기 색 구성표 > Visual stuido 2017 선택
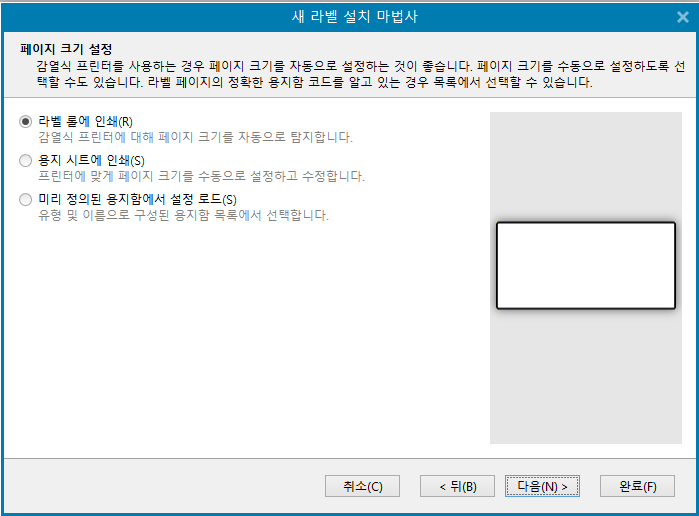
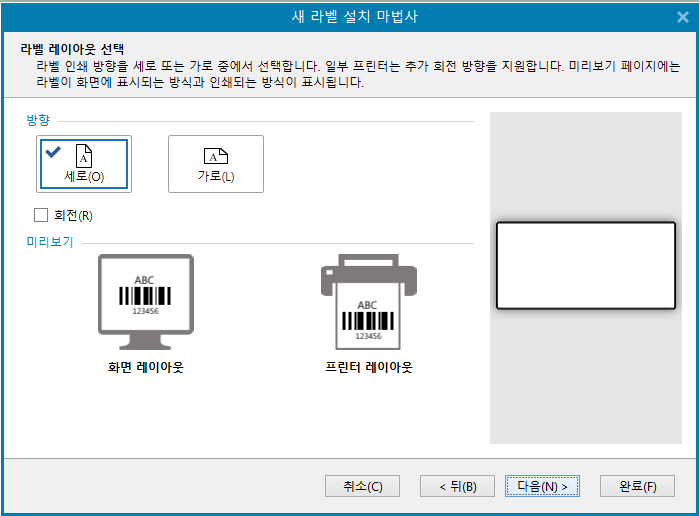
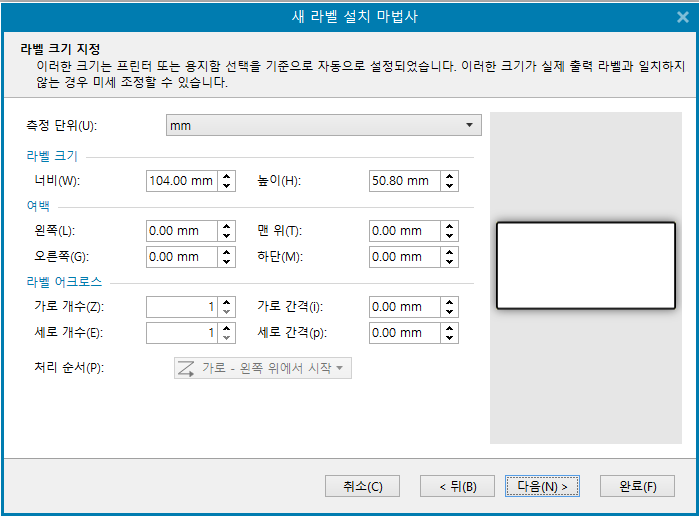
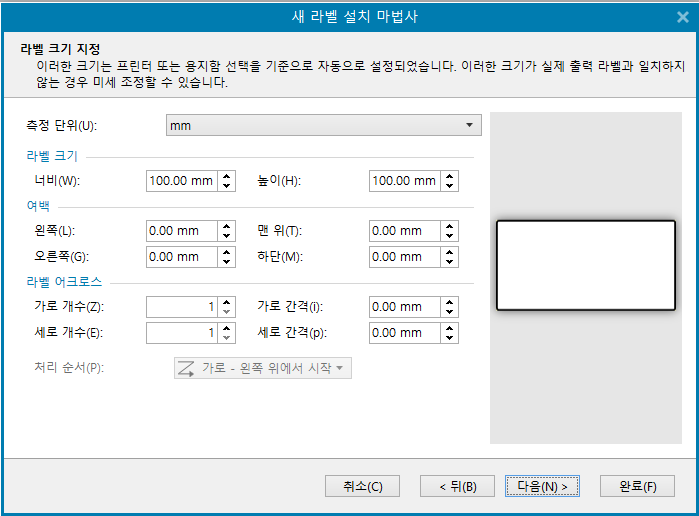
zebra.md
Zebra